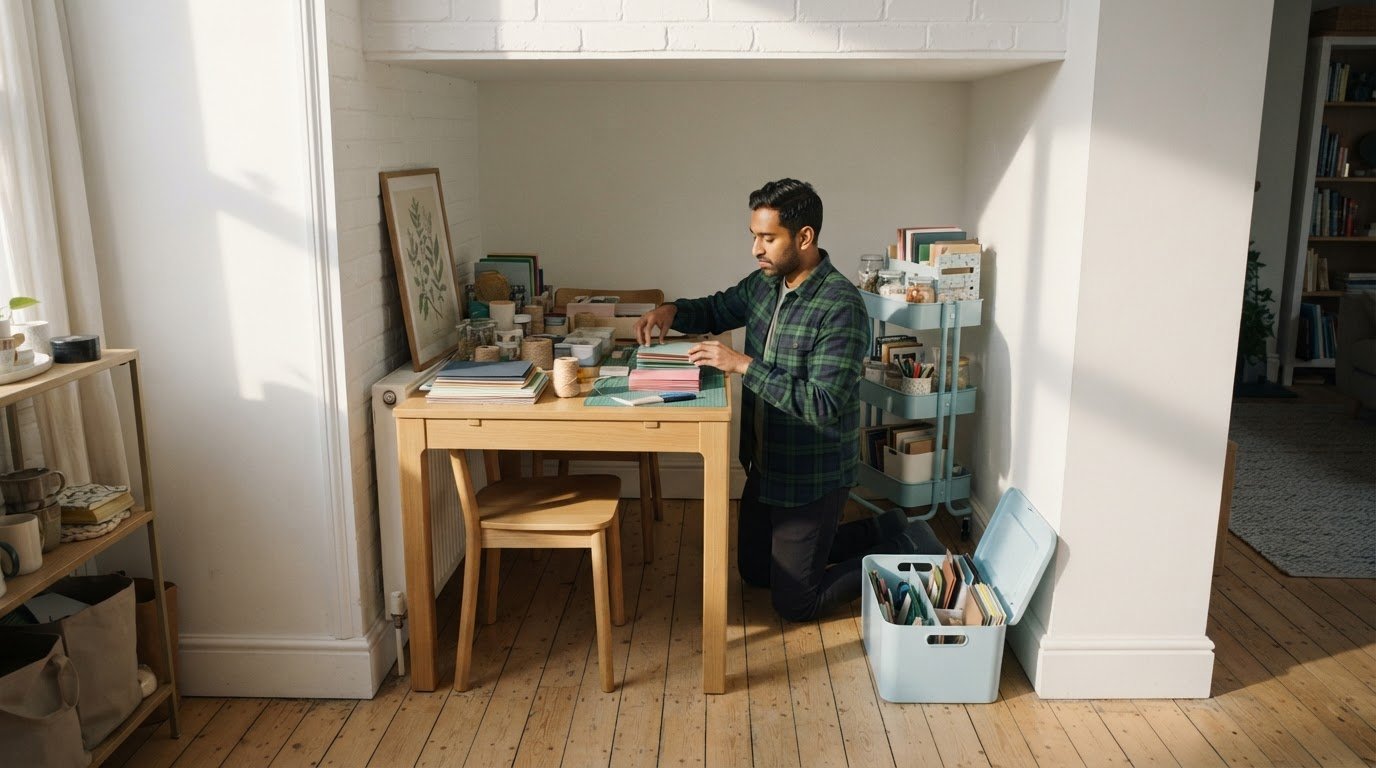
Crafting in a small space presents a distinct challenge: creative hobbies require physical materials, but small living areas offer little room to spare. When fabrics, card stock, adhesives, and specialty tools sprawl across dining tables or cram into random bags under the bed, starting a new project feels more exhausting than inspiring.
Organizing a craft collection does not require an entire spare room. It requires an honest sorting system, clear physical boundaries, and storage choices tailored specifically to your physical living setup.
The Universal Starting Point: The Full-Inventory Purge
Before organizing according to your specific space constraints, every supply must pass through a single, complete inventory. Stashing items room by room without seeing the whole picture leads to duplicate purchases and forgotten materials.
Begin by collecting every craft supply from around your home: closet shelves, junk drawers, under-bed bins, and tote bags. Gather them in one central area and divide them into basic craft mediums, such as paper crafting, sewing, vinyl cutting, painting, or jewelry making.
Once grouped, assess each category aggressively. The goal is to balance the room required for your materials with the actual physical footprint you have available. When space is scarce, keeping supplies you might use “someday” directly steals space from the projects you actively make today. Split the inventory into four definitive piles:
- Keep: Active supplies for current crafts, core tools you use constantly, and essential consumables.
- Donate: Unopened kits you lost interest in, duplicate tools, fabric scraps smaller than practical use, and partial materials that local schools, thrift shops, or community centers can repurpose.
- Sell: High-value machines, specialty dies, or bulk materials you no longer touch.
- Trash: Dried-up acrylics, brittle glues, dried markers, and dull blades beyond sharpening.
If you struggle to let go of supplies bought with good intentions, applying practical strategies from common decluttering mistakes and how to avoid them will help keep emotional momentum going.
When You Craft at a Shared Dining or Living Room Table
If your primary creative surface doubles as where you eat meals or work from home, the biggest friction point is setup and pack-down time. If pulling out paints takes twenty minutes, you will rarely craft. If cleaning up takes twenty minutes, your supplies will end up living on the table permanently.
Mobile Rolling Carts
A multi-tiered metal utility cart functions as a portable workstation. Dedicate the top tier to daily-use items: precision scissors, utility blades, rulers, and primary adhesives. Use the middle tier for work-in-progress trays, and the bottom tier for bulkier items like cutting mats or power cords. When crafting time ends, roll the entire station into a closet, laundry nook, or behind an armchair.
Caddy and Project-Bag Systems
Divide active projects into self-contained vessels. Clear zippered pouches or handled caddies allow you to grab everything needed for one specific task (such as embroidery or knitting) in a single lift. Storing the necessary tools alongside that project’s materials prevents multiple trips across the house.
When You Have Only a Dedicated Closet or Nook
Turning a reach-in closet or a small recessed wall into a craft hub requires maximizing every square inch of depth and height. You cannot afford dead air space between shelves.
Vertical Wall and Door Mounting
The backs of closet doors and bare vertical patches are prime storage territory. Mounting a steel or wooden pegboard allows you to hang frequently reached-for tools: rotary cutters, thread spools, Cricut tools, and rolls of washi tape. Hanging tools keeps your horizontal desktop completely clear for cutting and assembling. For deeper closet setups, learning how to use vertical space to store more in small rooms helps you take advantage of the neglected area directly below the ceiling.
Clear Modular Drawers and Shelf Risers
Deep closet shelves often turn into black holes where supplies disappear. Replace deep, open baskets with stacked, clear plastic drawers. Because you can see inside without unstacking them, you avoid digging through layers of card stock or yarn to find a specific color. Shelf risers double your usable shelf surface by letting you stack smaller, clear containers without resting them directly on top of each other.
When You Have Multiple Mediums but Zero Extra Closets
Many crafters do not stick to just one hobby. You might sew garments, press vinyl decals, make custom cards, and paint watercolors. In a small home without spare closets, cross-medium chaos happens quickly.
Category-Based Containment
Organize materials strictly by specific functional group rather than mixing them across projects. Group like items together:
- Cutting and blades: Cricut blades, replacement rotary discs, precision craft knives, and heavy-duty scissors.
- Adhesives: Hot glue guns and sticks, double-sided tape, fabric glue, tacky glue, and spray adhesives.
- Substrates: Card stock grouped by weight, rolls of adhesive vinyl, heat-transfer vinyl, and fabric bundles.
- Colorants: Watercolor pans, acrylic tubes, gouache, and alcohol markers stored horizontally to prevent nib dry-out.
The Core-Station vs. Deep-Storage Split
Keep only the tools and substrates needed for your current rotation in your primary living space. Seasonal materials—such as holiday-themed stamps, Christmas ribbon, or autumn wreath supplies—should not occupy prime real estate year-round. Pack off-season materials into labeled, airtight plastic containers and store them on high closet shelves, under beds, or alongside seasonal home decor.
When You Are Organizing on a Tight Budget
Investing in expensive matching acrylic systems or specialized modular craft furniture is unnecessary. Functional organization depends entirely on clear division and consistent boundaries, both of which can be created with repurposed household items.
Repurposed Glass and Plastic Jars
Clean food jars, baby food containers, and wide-mouth glass jars make ideal holders for buttons, safety pins, embroidery floss, beads, and clips. Because they are transparent, you immediately see your stock levels before buying duplicates. Group small jars inside shallow cardboard boxes or shoebox lids to keep them from sliding around in drawers.
Household Food Bags and Shoeboxes
Heavy-duty zipper food bags are excellent for categorizing die-cut pieces, scrap fabrics sorted by color, stencils, and half-used sticker sheets. Label each bag with a permanent marker, punch a hole in the corner above the seal, and store them upright in an empty shoebox like file folders. This prevents small, loose items from scattering throughout larger bins.
Maintaining Craft Order in Tight Quarters
Small-space systems fail when the volume of supplies exceeds the physical boundaries assigned to them. Setting up the system is only half the work; preserving usable space requires ongoing routines.
Practice a one-in, one-out rule for non-consumable tools. If you acquire a new rotary cutter or specialized ruler, remove the older version you reach for less often. For consumables like fabric remnants or paper pads, establish rigid containment boundaries: when the card stock bin is full, finish existing paper projects before purchasing new packs.
Pairing these storage boundaries with a simple daily tidy habit ensures your crafting surfaces stay ready for actual creating. Resetting your tools and packing away current projects at the end of each session prevents clutter from taking over your living areas, keeping your small creative space practical, functional, and ready to use.