The garage has a way of becoming the household’s unofficial dumping ground. It’s where the holiday decorations live alongside the broken lawnmower, the bikes nobody’s ridden in two years, and that box of “I might need this someday” mystery items. Before long, you can’t park the car, you can’t find the tools, and you avoid even opening the door. Sound familiar?
The good news is that a chaotic garage is one of the most satisfying spaces in the entire home to reclaim. Because so much of the clutter is genuinely disposable or donatable, you tend to see dramatic results fast. This guide walks you through the whole process — from the prep work that prevents burnout, to the sorting decisions that trip people up, to the storage systems that actually keep it organized long after the cleanup is done.
Start With a Plan, Not a Trash Bag
The single biggest mistake people make is diving in on a whim. They start pulling things out, run out of energy by noon, and end up with a garage that’s worse than when they started — now with half the contents strewn across the driveway. Decluttering a garage is a project, and projects need a little structure.
Begin by being honest about scope. A two-car garage that hasn’t been touched in five years is not an afternoon job. Block out a full day, or better yet a weekend, and check the weather forecast — you’ll want a dry day so you can spread everything out on the driveway or lawn.
Before you touch a single box, gather your supplies so you’re not interrupting your momentum later:
- Trash bags and a few sturdy bins for sorting
- A lidless trash can or open bin placed centrally — skipping even the small step of lifting a lid keeps you moving and reduces the temptation to second-guess
- Cardboard boxes labeled Keep, Donate, Sell, and Relocate
- Gloves, a broom, and a shop vac for the cleaning phase
- A marker and masking tape or sticky notes for quick labeling
Decide upfront what your garage is actually for. Is it primarily for parking? A workshop? Sports and outdoor gear storage? This vision becomes your filter for every keep-or-toss decision that follows.
Empty, Sort, and Make the Hard Calls
The most effective approach is to pull everything out. It feels dramatic, but seeing your garage completely empty does two things: it shows you how much usable space you really have, and it forces you to handle every item rather than shuffling clutter from one corner to another.
As you remove items, sort them into your labeled categories immediately. Don’t create a vague “deal with later” pile — that pile is where decluttering projects go to die.
The four-category system
- Keep: Things you use, that work, and that genuinely belong in the garage. Tools, current sports equipment, lawn care gear, car supplies.
- Donate: Gently used items in working condition that someone else could benefit from — extra tools, outgrown bikes, camping gear you no longer use.
- Sell: Items with real resale value worth the effort of listing. Be ruthless here; if something’s been “worth selling” for three years and you still haven’t listed it, it probably belongs in donate.
- Toss/Recycle: Broken items, expired chemicals, dried-out paint, and the rusted-beyond-repair stuff you’ve been stepping over.
Common decision traps to watch for
A few categories of clutter cause more agonizing than they deserve. Keep these guidelines in mind:
- The “might need it someday” item. If you haven’t used it in a year or more and can’t name a specific upcoming use, let it go. The cost of storing it usually outweighs the small chance you’ll need it.
- Duplicate tools. Three hammers and a drawer of mismatched screwdrivers? Keep the best of each and donate the rest.
- Sentimental boxes. The garage is a terrible place to store memories — humidity and pests destroy them. Move genuinely cherished items indoors and recycle the rest.
- Hazardous materials. Old paint, pesticides, motor oil, and batteries shouldn’t go in the regular trash. Check with your local waste authority for a household hazardous-waste drop-off, and never pour chemicals down a drain.
Clean and Repair the Empty Space
Here’s the step almost everyone skips, and it’s the one that makes the finished result feel transformative. With the garage empty, you have a rare opportunity to deep-clean and address small repairs before anything goes back in.
Sweep out the years of dust, cobwebs, and leaf litter. Vacuum the corners and along the baseboards. Wipe down shelving you plan to reuse. If the floor is stained or grimy, this is the moment to scrub or hose it down — you’ll never have easier access than right now.
Take a look at the space itself while it’s bare. Is the lighting adequate? A dim garage feels cluttered even when it’s tidy, and good lighting makes the space far more usable for projects. Note any wall studs you can anchor shelving into, check that the garage door operates smoothly, and patch any obvious entry points where pests or moisture get in. Letting the floor dry completely before reloading prevents trapping moisture under bins.
Build a Zoned, Vertical Storage System
This is where a decluttered garage becomes an organized garage that stays that way. The guiding principle: get things off the floor and group like with like. Floor clutter is what makes a garage unusable, so the goal is to push storage up the walls and overhead.
Reach for the walls and ceiling
Vertical storage is the secret weapon of every well-run garage. Your floor space is precious — ideally reserved for vehicles and a clear walking path — so make the walls and ceiling work for you:
- Wall-mounted racks, slatwall, and pegboards are perfect for frequently grabbed tools like rakes, shovels, and drills. Mounting them at eye level keeps everything visible and within reach.
- Overhead ceiling racks are ideal for lightweight but bulky seasonal items — plastic storage bins, ladders, holiday decorations — that you only touch a few times a year. This reclaims space that’s almost always wasted.
- Sturdy shelving units along the walls keep bins organized and elevated off the concrete, away from potential water damage.
Create zones for how you actually use the space
Group related items into dedicated zones so you always know where things belong — and where to put them back. A typical setup includes:
- A workbench hub where all your tools and project supplies live together, which prevents “project creep” from spreading screwdrivers across the whole garage
- A lawn and garden zone for the mower, hose, fertilizer, and hand tools
- A sports and recreation zone for bikes, balls, and gear
- A seasonal storage zone for the items you rotate in and out
Smart solutions for awkward items
Sports equipment is notoriously hard to store because so much of it is either tall and skinny or round. Baseball bats, hockey sticks, fishing poles, and rakes don’t sit nicely on shelves, and balls roll away the moment you set them down. A clever, low-cost fix is to corral these in tall, sturdy, lidless bins or laundry hampers — the tall-skinnies stand upright together and the rounds stay contained.
Use clear bins and label everything
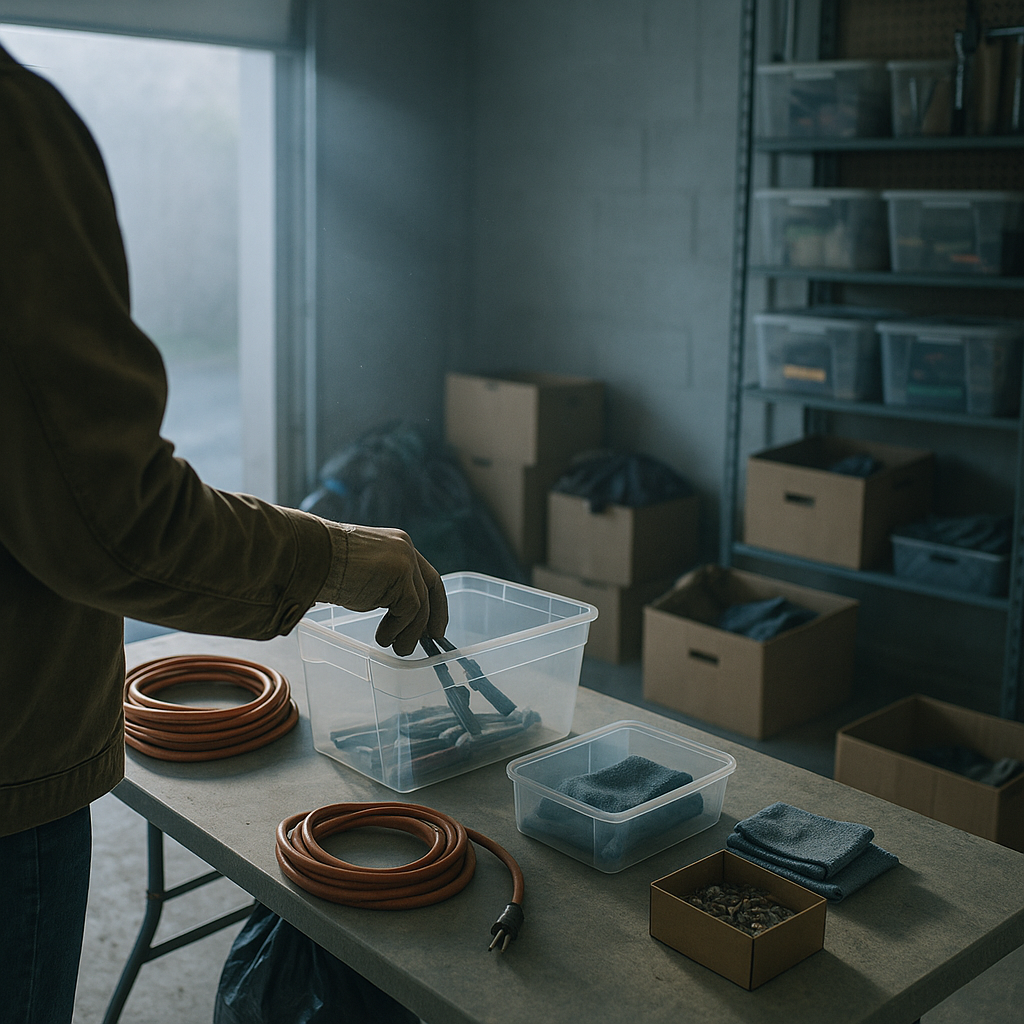
Whenever possible, store loose items in clear plastic bins so you can see the contents at a glance rather than opening five containers to find the extension cords. Then add a clear, descriptive label to each one. Labeling does more than help you find things — it tells everyone in the household exactly where an item goes back, which is half the battle in keeping the space clutter-free.
Keep It From Sliding Back Into Chaos
A garage doesn’t go from spotless to disaster overnight. It happens one “I’ll just set this here for now” at a time. The systems you’ve built do most of the maintenance work, but a little ongoing discipline keeps the entropy at bay.
- Honor the zones. When you finish a project, put tools back in the workbench hub. The five seconds it takes is what prevents the next pile.
- Adopt a one-in, one-out habit. When a new tool or piece of gear comes in, let something old go.
- Do a quick seasonal reassessment. Twice a year — spring and fall are natural triggers — spend twenty minutes scanning for items that have crept in or no longer earn their space. Rotate seasonal gear into the easy-to-reach spots and overhead storage as needed.
- Keep a donation box going. A standing box in the corner makes it effortless to set aside items as you notice them, rather than waiting for a once-a-year overhaul.
The Bottom Line
Decluttering your garage isn’t really about the stuff — it’s about reclaiming a space that works for you instead of against you. The formula is straightforward: plan before you start, empty everything out and make honest keep-or-let-go decisions, clean the bare space, then build a zoned system that gets items off the floor and onto the walls and ceiling. Clear bins and clear labels do the heavy lifting on staying organized.
If the whole thing feels overwhelming, don’t wait for the perfect free weekend — just start with the single worst corner. Pull it out, sort it into keep, donate, and toss, and put the keepers back with intention. One visible win is usually all the motivation you need to tackle the rest.