There’s a particular kind of dread that settles in when you open a cabinet and a stray lid clatters out, or you pull the toaster forward to find a small civilization of crumbs living behind it. A kitchen gets used harder than any other room in the house, which means grease, dust, and clutter accumulate faster than we notice. A proper deep clean isn’t just about appearances — it resets the space so your daily cooking feels easier and your surfaces actually stay clean longer.
This guide walks you through deep cleaning your kitchen the way someone who does it regularly would: working in a deliberate order, decluttering as you go, and tackling the spots most people skip. Set aside a couple of hours, put on a good playlist, and work through it section by section. You don’t have to finish it all in one sitting, but you’ll get the best result if you follow the sequence.
Gather your supplies and set the stage
The fastest way to derail a deep clean is to stop halfway through to hunt for a sponge. Before you wipe a single surface, pull together everything you’ll need so you can move without interruption.
A sink caddy is genuinely worth having here — it keeps your brushes, sponges, and scrubbers in one place and prevents them from cluttering the counter or the edge of the sink. Beyond that, assemble:
- Microfiber cloths (several — you’ll go through more than you expect)
- Warm water and dish soap, your everyday workhorses for most surfaces
- A general-purpose or degreasing spray for cabinet fronts and the range
- A non-scratch scrub sponge and a soft-bristle brush for grout and corners
- A vacuum with a crevice attachment, plus a mop and bucket
- Two boxes or bins: one for donate, one for toss
Clear the counters of everything portable and give yourself an empty staging surface — your kitchen table or a cleared section of counter — where you can set items down as you pull them out. Open a window if you can. Working top to bottom and clean-to-dirty is the core principle of an efficient deep clean, so let everything that follows respect that order.
Empty, declutter, and clean the cabinets and pantry
This is where the real difference happens, and it’s the step most people are tempted to skip. The instinct is to wipe around what’s already there. Resist it. Pull everything out. When a shelf is empty, you can see exactly what you own, clean every inch, and put things back with fresh eyes.
Sort as you empty
As items come out, make quick decisions. Toss anything expired — check pantry staples, spices that have lost their smell, and forgotten cans at the back. Set aside duplicates and single-use gadgets you never reach for: the garlic press, the apple corer, the lemon juicer, the third spatula. Be a little ruthless. The less you keep, the easier the kitchen is to maintain afterward. Chipped mugs, lidless containers, and that drawer of orphaned Tupperware bottoms can go.
Clean the empty surfaces
Once a cabinet or shelf is bare, knock out the loose crumbs and dust first — a cloth or the vacuum’s crevice tool works well. Then wipe down with a cloth dipped in warm, soapy water, getting into corners and along the front edges where grease tends to build up. Dry with a clean microfiber cloth so you don’t leave streaks or trap moisture. If you use shelf liners and they’re worn or grimy, now is the moment to replace them.
When you put things back, group like with like — baking supplies together, everyday dishes within easy reach, rarely used items up high or in the back. This small bit of intention is what keeps the space organized for months, not days.
Tackle the appliances
Appliances hold the most stubborn grime in the kitchen, so give them dedicated attention. Work from the inside out, and start the ones that need soak time first so you’re not standing around waiting.
Refrigerator
Before you begin, switch the fridge to vacation mode or unplug it if you’re doing a thorough job. Pull out everything, tossing expired condiments and anything fuzzy. Remove the shelves and drawers and wash them in warm soapy water — let glass shelves come to room temperature before hitting them with hot water so they don’t crack. Wipe the interior walls, dry everything, and reload. Don’t forget the rubber door gaskets, where crumbs and mildew hide, and the coils or vent at the back or bottom if you can reach them.
Oven and stovetop
For the oven interior, you don’t need harsh chemicals or the self-cleaning cycle. A simple, effective approach: spray the inside with a solution of about two cups of water mixed with a couple tablespoons of dish soap, let it sit for around five minutes, then work it with a wet pumice stone. The combination of mild abrasion and degreasing handles baked-on residue well. For the inside of the oven door, a damp scrubbing pad cuts through the filmy buildup. Vacuum crumbs out of any warming drawer before replacing the racks.
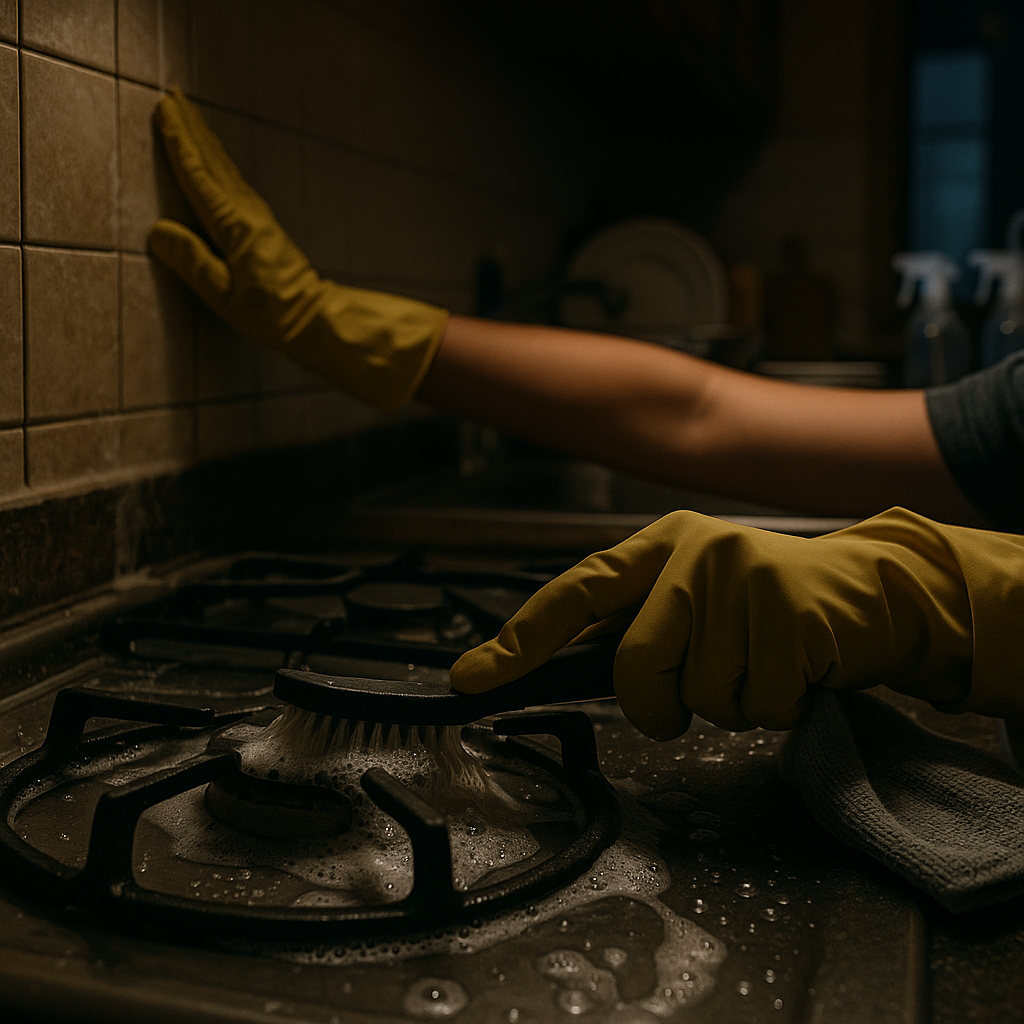
On the stovetop, lift off grates and burner caps to soak in soapy water while you wipe the surface beneath. A degreasing spray and a non-scratch sponge handle most cooktops; for glass tops, a dedicated cooktop cleaner avoids scratching.
Microwave, dishwasher, and small appliances
- Microwave: Heat a bowl of water with a slice of lemon for a couple of minutes; the steam loosens splatter so it wipes away with almost no effort.
- Dishwasher: Clear the filter at the bottom, wipe the door seal, and run an empty hot cycle to freshen it.
- Toaster, coffee maker, kettle: Empty crumb trays, descale where needed, and wipe exteriors. These get touched constantly and rarely get cleaned.
Scrub the sink, counters, and backsplash
With the cabinets and appliances done, move to the working surfaces. Clear the counters completely if you haven’t already — wiping around the canisters and the knife block doesn’t count.
Start with the backsplash, since it’s higher and anything you knock loose will fall onto the counter you’re about to clean anyway. Grease film loves backsplashes near the stove; a degreasing spray and a few minutes of dwell time make it wipe off easily. For tile, run a soft brush along the grout lines.
Next, the counters. Use the cleaner appropriate to your surface — gentle soap and water is safe for almost everything, while natural stone like granite or marble needs a stone-safe product rather than anything acidic. Pay attention to the seam where the counter meets the backsplash and the area right around the faucet base, where grime collects.
Save the sink for near the end of this stage, because it’s been catching everything you’ve rinsed. Scrub the basin, then clean the faucet and handles — a toothbrush is perfect for the crevices around the base and the aerator. A drain that smells can be freshened with baking soda followed by hot water. Wipe it all dry so the metal shines instead of spotting.
Finish at floor level
Floors come last, always. Every step before this — dusting shelves, scrubbing the oven, wiping counters — sends crumbs and grime downward. If you mop first, you’ll just be cleaning the floor twice.
Pull out anything portable that sits on the floor: the trash can, a stool, the dog’s bowls. Move lightweight appliances and check behind and beneath them, since the gap behind the fridge and under the stove edge collects an astonishing amount of debris. Then:
- Vacuum or sweep thoroughly, using the crevice tool along baseboards, under cabinet overhangs, and in corners.
- Wipe the baseboards and the kick plates beneath your lower cabinets — these are nearly always overlooked and gather a greasy dust film in a kitchen.
- Mop with a cleaner suited to your flooring, working from the far corner toward the doorway so you don’t trap yourself in a wet room.
- Empty and disinfect the trash can before it goes back, and pop in a fresh liner.
Let the floor dry fully before walking on it. This is a good moment to wash your cloths and sponges so your tools are ready for the next round.
Common mistakes that cost you the result
A few habits quietly undermine an otherwise solid deep clean. Watch for these:
- Cleaning around clutter instead of removing it. If you don’t empty the shelf, you’re not deep cleaning — you’re tidying.
- Working bottom to top. Mopping before you’ve dusted high shelves means redoing the floor.
- Skipping the dwell time. Degreasers and oven sprays need a few minutes to break down grime. Spraying and immediately wiping wastes both the product and your effort.
- Forgetting the touch points. Cabinet handles, the fridge door, light switches, and faucet levers get touched dozens of times a day and rarely get wiped.
- Putting everything back. A deep clean is your best chance to declutter. If you reload every gadget you pulled out, you’ve missed half the benefit.
The bottom line
A deep clean works because of its order: gather your tools, empty and declutter the cabinets, conquer the appliances, scrub the surfaces top to bottom, and finish at the floor. Plan for two to three hours for an average kitchen, and remember that the decluttering you do along the way is what keeps the space easy to maintain afterward. Your next step is simple — schedule it. Block out an afternoon this week, set up your sink caddy and your two bins, and start by pulling everything out of one cabinet. The momentum will carry you through the rest.