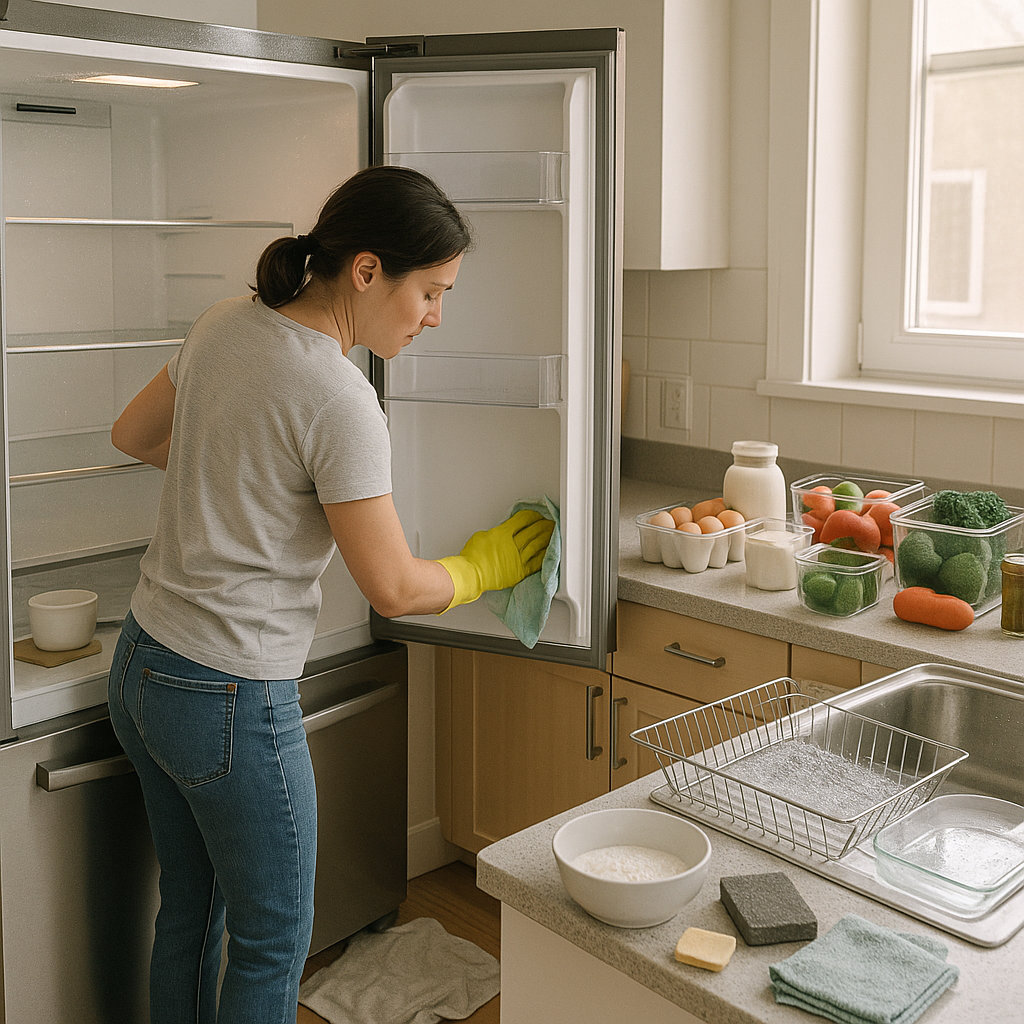
Your refrigerator is the hardest-working appliance in your kitchen, running around the clock to keep your food safe. Yet it’s also the one most of us avoid cleaning until a mystery smell or a sticky shelf forces our hand. The truth is that a neglected fridge doesn’t just look unpleasant — it can harbor odors, mold along the door seals, and the slow creep of forgotten leftovers that quietly spoil behind the ketchup.
The good news? A proper refrigerator cleaning isn’t complicated, and once you’ve done it methodically, keeping it that way takes only minutes a week. This guide walks you through the entire process step by step, with the practical details that actually make the job faster, easier, and longer-lasting.
Why a clean fridge is worth the effort
Beyond the obvious appeal of opening a fresh, organized fridge, regular cleaning serves a real purpose. Spills that sit harden over time and become far harder to remove. Crumbs and drips collect in the rubber door gasket, where they can lead to lingering odors and even mold growth. And clutter — that back row of half-used jars — makes it easy to lose track of what you have, which means wasted food and wasted money.
A good rhythm is a light cleaning of both the fridge and freezer sections about once a month, plus a more thorough deep clean seasonally. The monthly habit prevents grime from building up in the first place, so the deep cleans never feel overwhelming.
Gather your supplies before you start
Pulling everything together first means you won’t be hunting for a sponge mid-job with the fridge door hanging open. You don’t need specialty products — most of what works best is already under your sink.
- Dish soap and hot water — your primary cleaning solution for shelves, drawers, and interior surfaces.
- Baking soda — for making a gentle paste on stubborn stains, and for deodorizing afterward.
- White vinegar — mixed equal parts with water, it’s a reliable, food-safe option for wiping down surfaces if you prefer not to use disinfecting wipes.
- Two clean cloths or sponges — one for washing, one for rinsing or applying a vinegar solution.
- Clean, dry towels — drying thoroughly is the step most people skip, and it matters.
- A cooler or a sink filled with ice — to hold perishables while you work.
- A soft-bristled brush or old toothbrush — for getting into gasket folds and tight corners.
A quick tip worth its weight: clean your fridge right before a grocery run, when it’s at its emptiest. You’ll have less food to manage and fewer items to find a temporary home for.
Empty the fridge and protect your food
Start by taking everything out. As you do, this is your first natural chance to declutter — check expiration dates and toss anything past its prime, plus those forgotten condiments and leftovers you’ll honestly never eat. Be ruthless here; an empty fridge is much easier to clean and to reorganize sensibly later.
Perishables are the concern while the fridge sits open. To keep them safe, move them into a cooler or pile them into a sink filled with ice. If your space is limited, a smart approach is to work in sections rather than emptying everything at once — clean one shelf, return its contents, then move to the next. This keeps cold food cold and stops you from feeling like you’ve made the whole job harder than it needs to be.
A useful trick for working fast
If you’re cleaning a single area at a time, set a short timer — around five minutes per section — and remove just the food from that zone. Working quickly and in chunks limits how long anything stays out of temperature and keeps the project feeling manageable instead of like an all-day ordeal.
Wash the removable shelves and drawers
Take out the shelves, drawers, and any removable bins. These are far easier to clean at the sink than inside the cramped fridge cavity. Wash them with hot, soapy water, just as you would dishes, then rinse and set them aside to dry completely.
One important caution: let glass shelves come to room temperature before submerging them in hot water. Glass that’s still cold from the fridge can crack from sudden temperature change. Give them a few minutes on the counter first. While the parts dry, you’ll have clear, open access to the interior — which is exactly when the inside cleaning goes quickly.
Clean the interior — including the spots everyone forgets
With the fridge empty and the shelves out, wipe down all the interior surfaces. Dunk your sponge or cloth in the soapy water and wring it out well — you want it damp, not dripping. Excess water pooling in the bottom of the fridge just creates more drying work and can seep into places it shouldn’t.
Work from the top down so any drips fall onto surfaces you haven’t cleaned yet. Wipe the walls, the ceiling of the compartment, and the floor of the cavity.
Tackling stubborn, dried-on stains
For hardened spills or stains that won’t budge with a simple wipe, make a paste of baking soda and a little water. Apply it directly to the trouble spot, let it sit for several minutes to soften the mess, then wipe it away. This gentle abrasive lifts dried gunk without scratching the surface. Once the stain is gone, go over the area again with a clean, damp cloth to remove any baking soda residue.
Don’t skip the rubber gasket
The rubber door seal — the gasket — is the single most overlooked part of a fridge, and it’s a genuine magnet for crumbs, drips, and sticky residue. Left alone, that buildup leads to odors and mold, and a grimy gasket can even compromise how well the door seals. Wipe it down with a dishcloth dipped in warm water, working into the folds with your fingertip or a soft brush. Take your time here; it makes a bigger difference to freshness than you’d expect.
Rinse and dry thoroughly
After washing — and especially if you’ve used a soap or baking soda paste — go over the interior with a cloth dampened in plain clean water to remove any film. If you prefer a sanitizing pass, wipe surfaces with an equal-parts white vinegar and water solution. Then dry everything completely with a clean towel. A moisture-free interior discourages mold and keeps the fridge smelling fresh. The goal is squeaky clean and bone dry.
Refill smartly and keep it that way
Putting everything back is your best opportunity to set up systems that prevent the next big mess. As you return items, check dates one more time and group similar things together so nothing disappears into a back corner again.
- Designate zones. Give condiments, dairy, produce, leftovers, and drinks their own consistent spots. When everything has a home, you can see what you have at a glance and waste far less food.
- Use clear bins. A few open containers corral loose packets, snacks, or jars and let you pull out a whole category at once — which also makes future cleaning a five-second job.
- Keep food covered. Store leftovers in sealed containers and wrap things tightly. This single habit dramatically reduces spills and odors between cleanings.
- Put a “use first” zone up front. Reserve one spot for items nearing their expiration so they get eaten instead of forgotten.
- Add a box of baking soda. Tucked in the back, it helps absorb odors between cleanings.
The habit that saves you the most work
Wipe up spills the moment they happen. A drip caught while it’s fresh takes one swipe; the same drip discovered a week later is a hardened, scrub-worthy stain. This tiny in-the-moment habit is what keeps a fridge from ever reaching the point where it needs an exhausting overhaul.
The bottom line
Cleaning your refrigerator comes down to a simple sequence: empty it, wash the removable shelves and drawers in hot soapy water, wipe the interior from top to bottom, pay special attention to the gasket, dry everything well, and refill thoughtfully while tossing anything past its prime. Done as a deep clean a few times a year and topped up with a quick monthly once-over, it never becomes a dreaded chore.
If your fridge is overdue, don’t wait for the perfect free afternoon. Pick the section that bothers you most — usually a sticky shelf or a crowded door — and clean just that today. A clean fridge starts with a single shelf, and the momentum tends to carry you the rest of the way.